Install
Three platforms, one canonical event shape. Pick the tab matching your engine. On Roblox the fastest route is the Studio plugin — Connect once, then one-click Activate drops the SDK into your game with no API-key copy-paste. Prefer to wire it yourself (or on Unity / Steamworks)? The drop-in package + three-step quickstart below still works.
Recommended — Studio plugin (one-click)
The fastest way in. The plugin mints your ingest key, drops in the SDK runtime, and wires purchase tracking for you. No keys to copy, nothing to keep in sync.
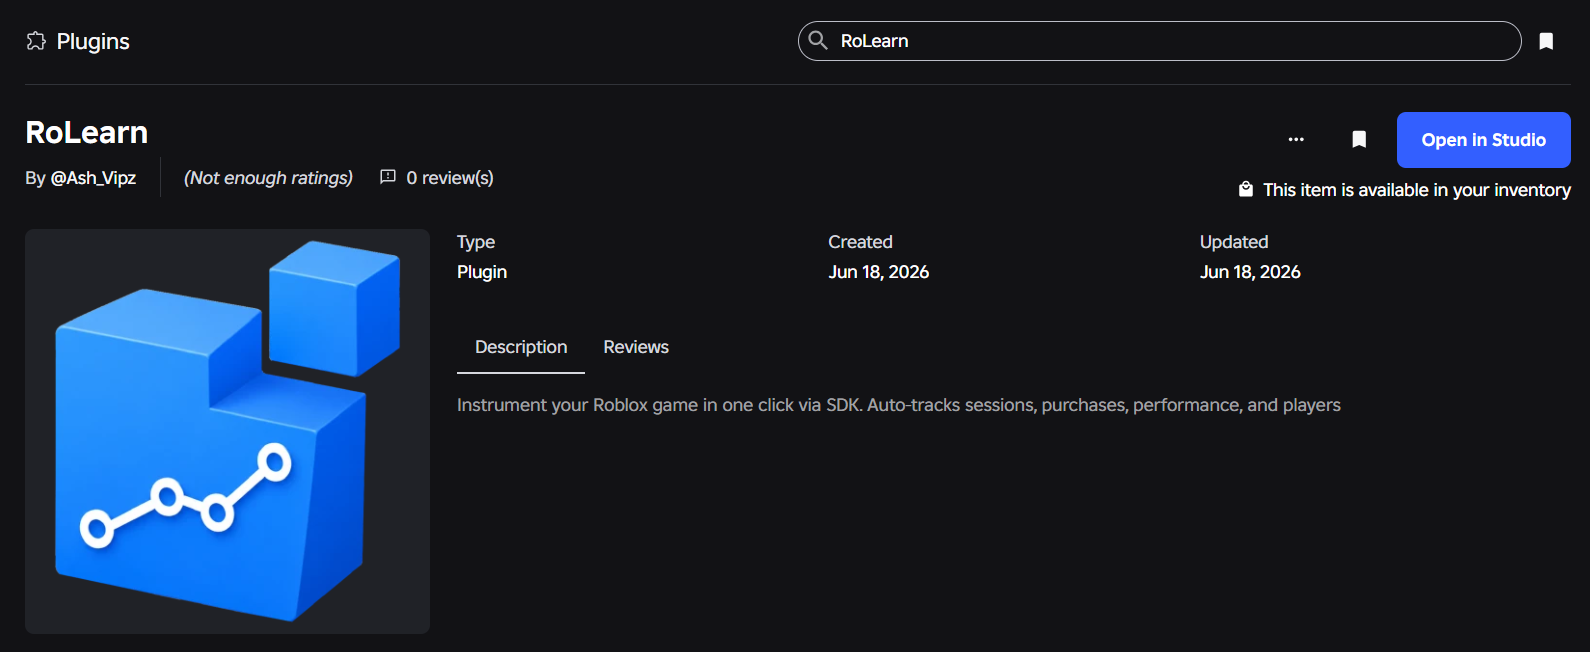
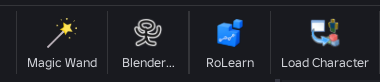
- Install the ROLearn plugin from the Creator Store, then open its panel in Studio.
- Click Connect, then approve the code at rolearn.dev/link.
- Open the place you want to instrument and click Activate.
- Publish. Sessions appear in the dashboard within ~10s.
Or install manually
Step 1 — Install
Latest stable: v0.6.1 · Registry: · License: MIT
Get the SDK file
Easiest (Mac & Windows): download the .rbxmx and drag it into Studio's Explorer (or right-click → Insert from File) — it drops in as a ModuleScript named RoLearnSDK. Move it into ServerScriptService. Prefer source? Copy the code or grab the .lua and paste it into a ModuleScript yourself. No package manager required.
-- Drop-in ModuleScript, no package manager needed.
-- Grab it with the buttons above, then:
-- Enable HTTP Requests in Game Settings → Security.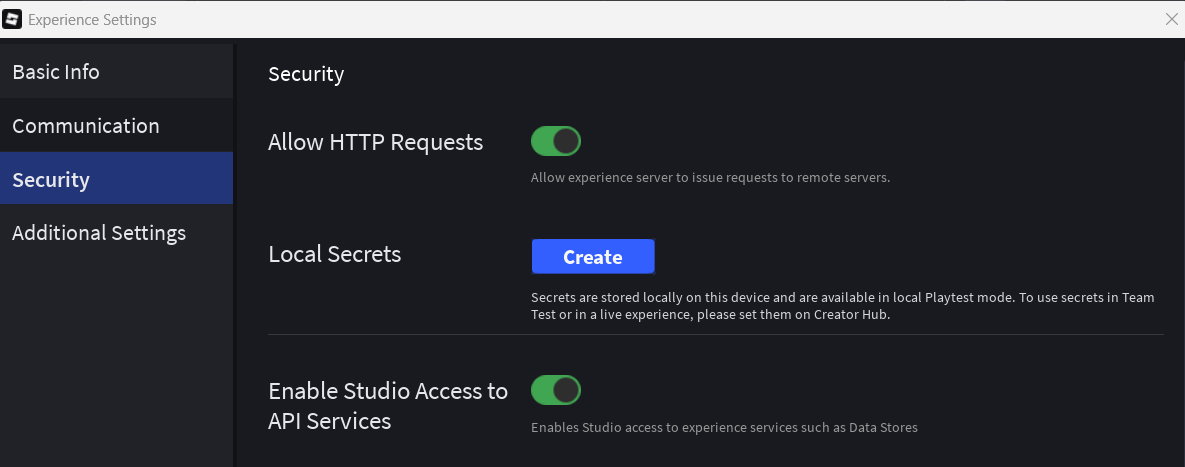
Step 2 — Initialize
Initialize once at boot. Provide your rk_live_… key and the game_id you registered in /studio/games (adding an experience there mints a key automatically).
local SDK = require(game.ServerScriptService.RoLearnSDK)
SDK.init({
    api_key  = "rk_live_XXXX",
    endpoint = "https://rolearn.dev/api/sdk/events",
    game_id  = tostring(game.PlaceId),
    auto_hook_marketplace = true,  -- off by default; records gamepass purchases
})
Step 3 — Track events
Send a test event. The dashboard at /studio/dashboard refreshes within 1–2 seconds.
-- level event
SDK.track("level", { level = 3, score = 1200 }, player)

-- purchase (gamepasses are auto-hooked when auto_hook_marketplace = true)
SDK.purchase(player, {
    sku    = "vip_pass",
    price  = 4.99,
    source = "gamepass",
})Next steps
- Integration reference — full event schema, auth scoping, quotas, GDPR.
- /studio/games — manage linked games and the keys the plugin minted for them.
- Release notes — what's new in each version.
- Downloads — installer + archive links for every released version.